疫情期间:目前是在个人PC上搭建了DAEGC的运行环境并跑通,现将过程记录如下以备以后使用
DAEGC运行步骤
疫情期间:目前是在个人PC上搭建了DAEGC的环境并能够跑通,现将过程记录如下以备以后使用
个人PC:windows10,python3.7,1050Ti,cuda 11.2
1.首先查看自己的GPU版本和cuda版本
nvidia-smi
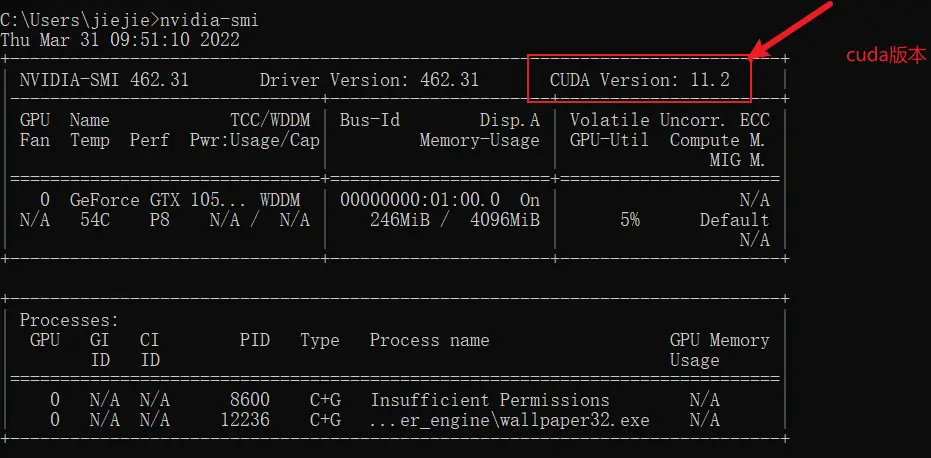
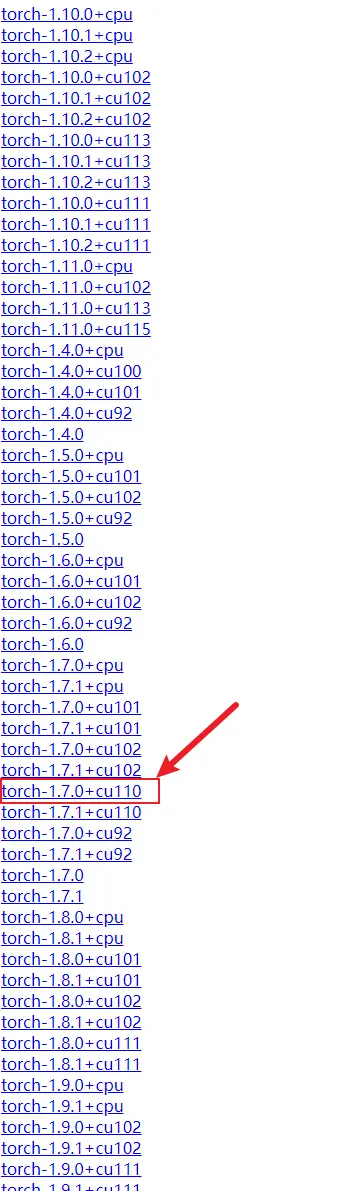
2.可以看到我的cuda版本为11.2因此安装对应版本torch
pip install torch==1.7.0+cu110 torchvision==0.8.1+cu110 -f https://download.pytorch.org/whl/torch_stable.html
3.安装torch-scatter,torch-sparse,torch-cluster,torch-spline-conv
我是直接通过wheel文件安装,个人感觉这种安装方式最直接,而且不会有什么问题,直接去whl地址根据对应的torch,cuda,以及python版本下载对应的wheel文件,比如我是cuda110+torch1.7.0+python37,根据电脑系统选择win还是linux
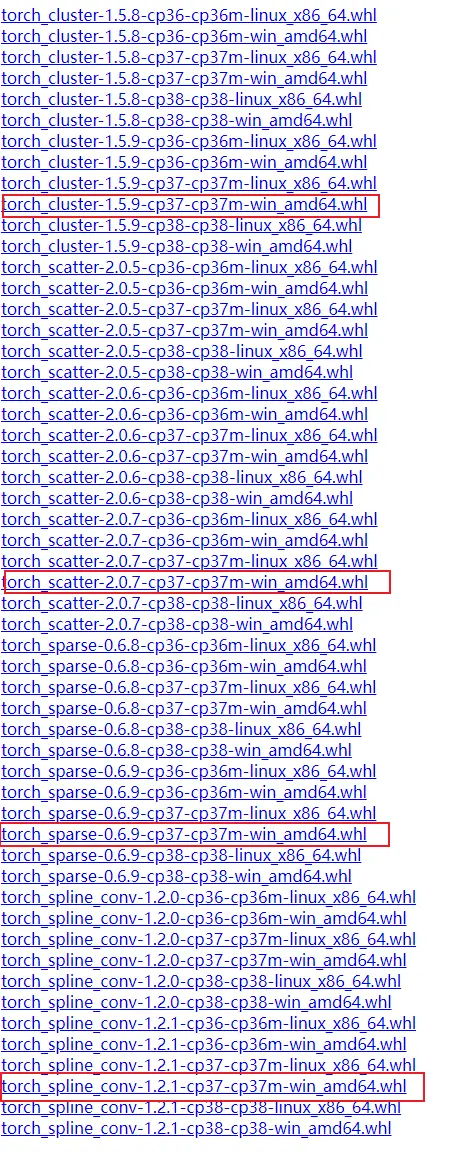
4.cd到已经下载文件的目录
pip install +下载的包名
#如:pip install .\torch_cluster-1.5.9-cp37-cp37m-win_amd64.whl
#依次将四个都运行
5.安装torch-geometric
pip install torch-geometric
6.安装DAEGC所需要的包
pip install munkres
pip install -U scikit-learn #-U表示更新到最新版本
7.至此环境搭建完成,cd到DAEGC目录下
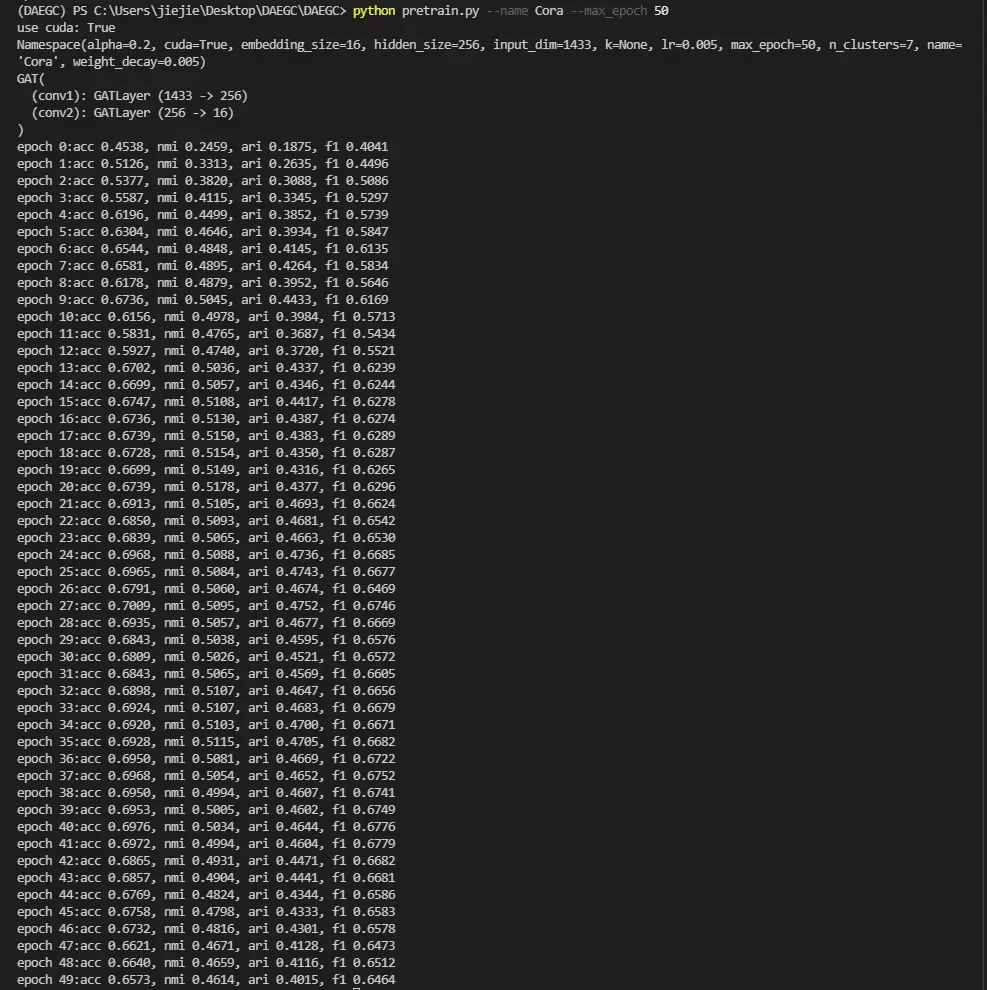
预训练(Cora,Citeseer):
 python pretrain.py --name Cora --max_epoch 50  #预训练
 python pretrain.py --name Citeseer --max_epoch 50 #预训练
训练(Cora Citeseer):
 python daegc.py --update_interval 5 --name Cora --epoch 45 --max_epoch 200 #训练(--epoch是可变参数,根据预训练文件夹下的内容可以改变)
 python daegc.py --update_interval 5 --name Citeseer --epoch 45 --max_epoch 200 #训练
参考链接:
原论文:
Attributed Graph Clustering: A Deep Attentional Embedding Approach